
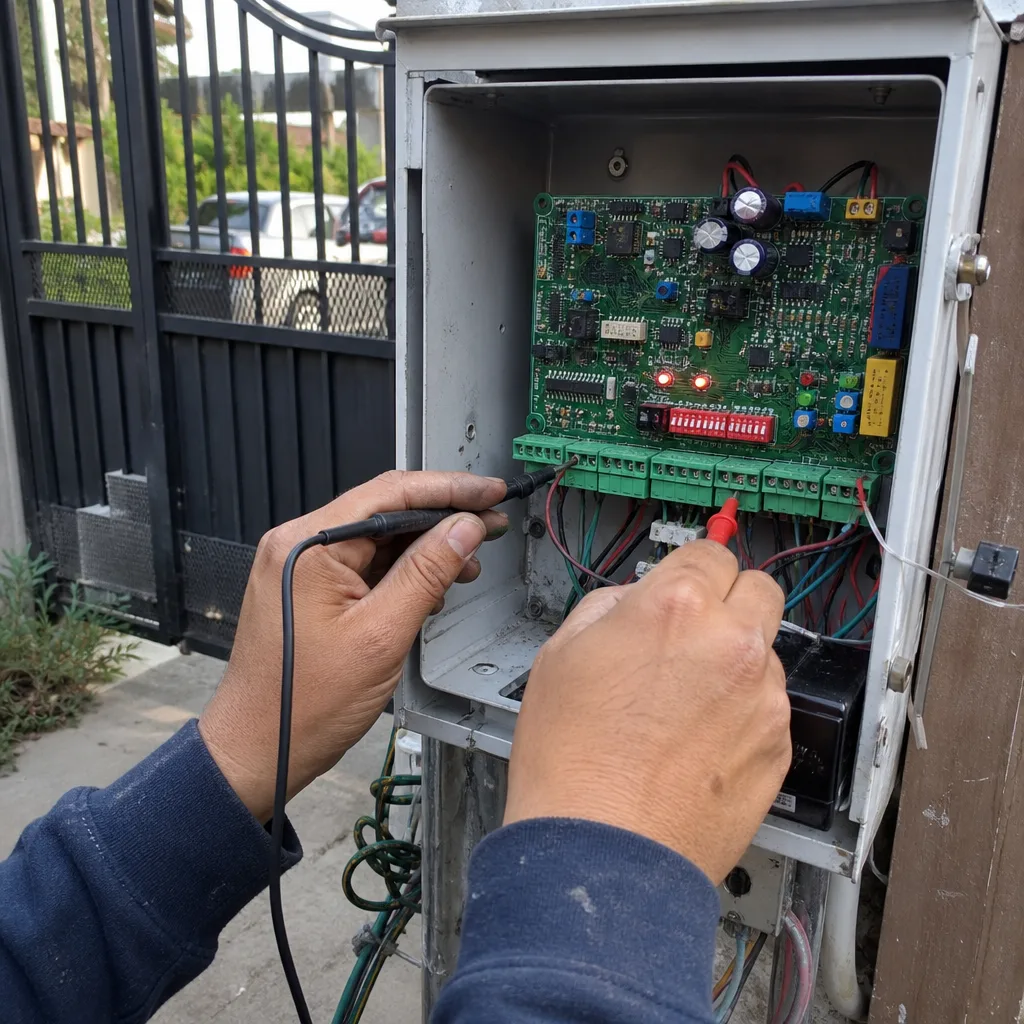
Last updated November 4, 2026
 Wrought iron
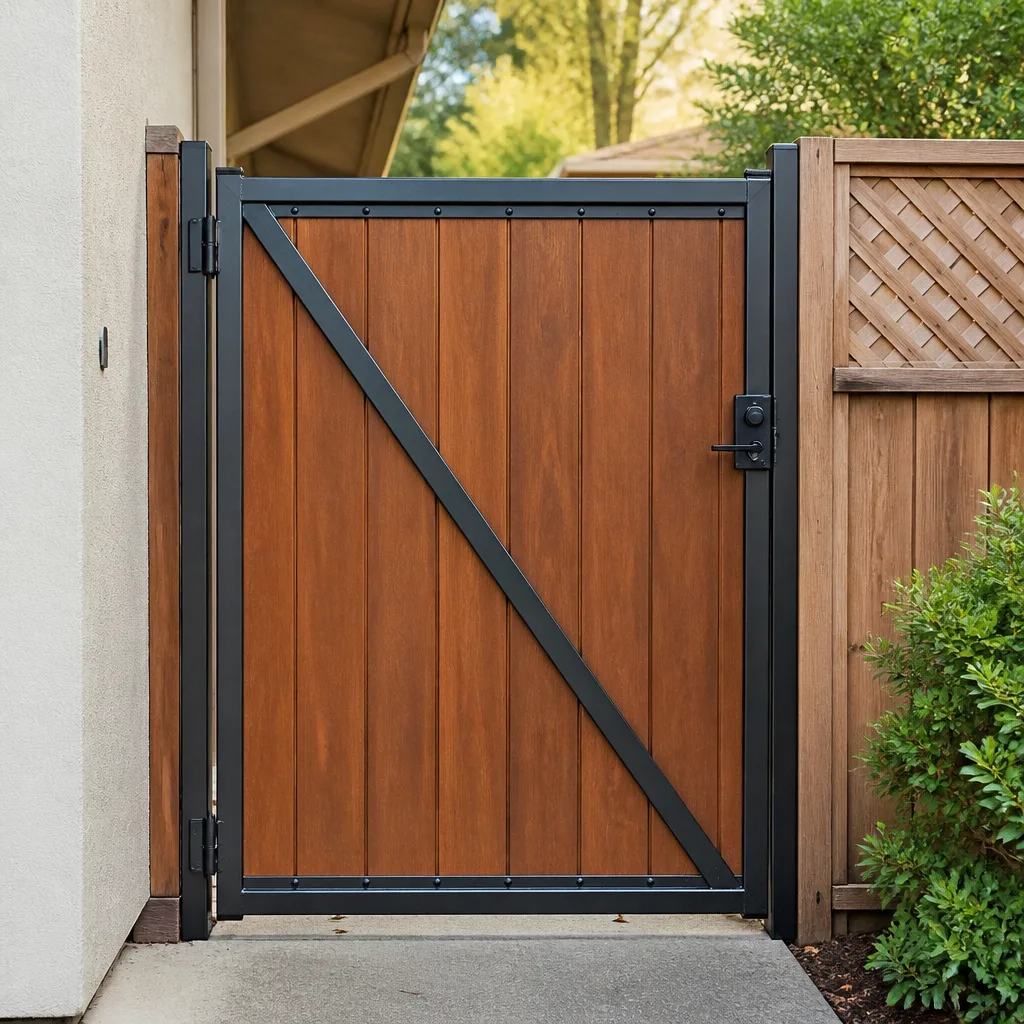 Wood & steel frame
 Farm & ranch
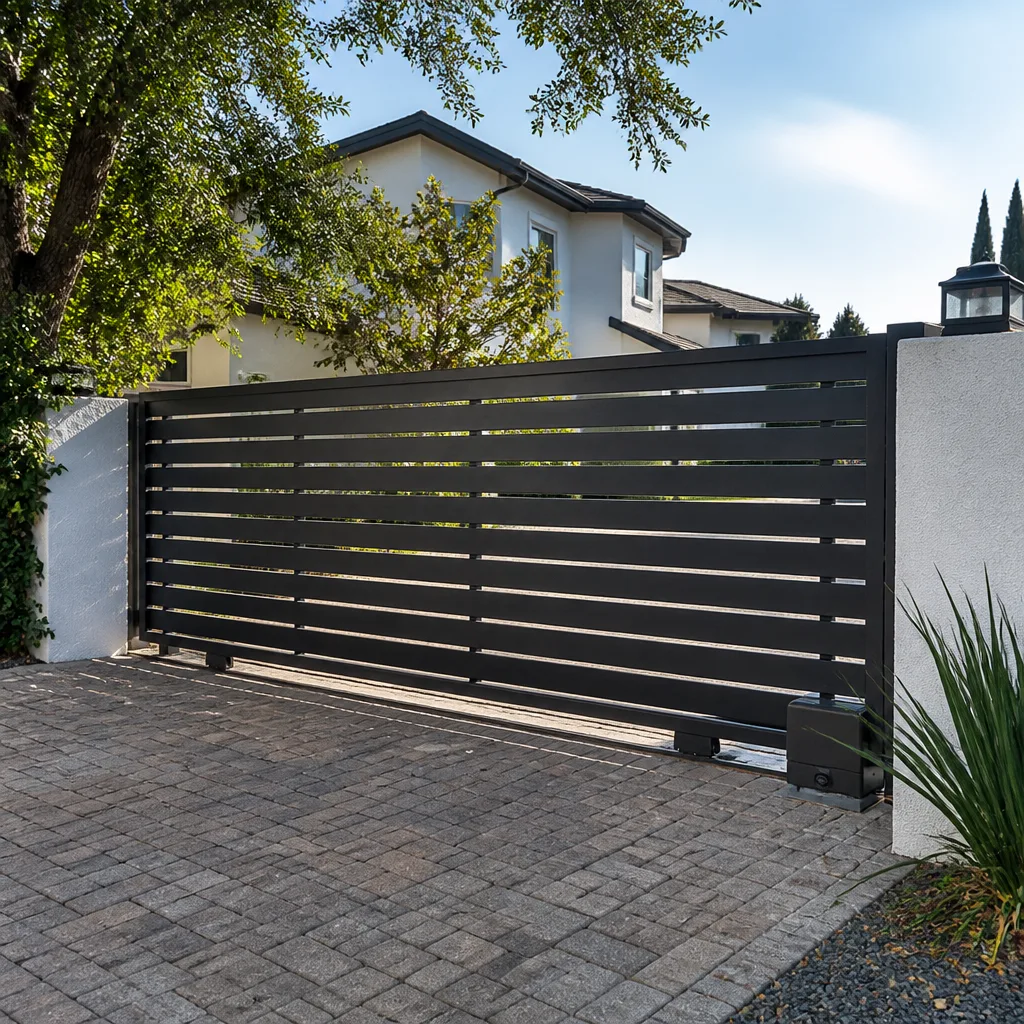 Sliding driveway gates
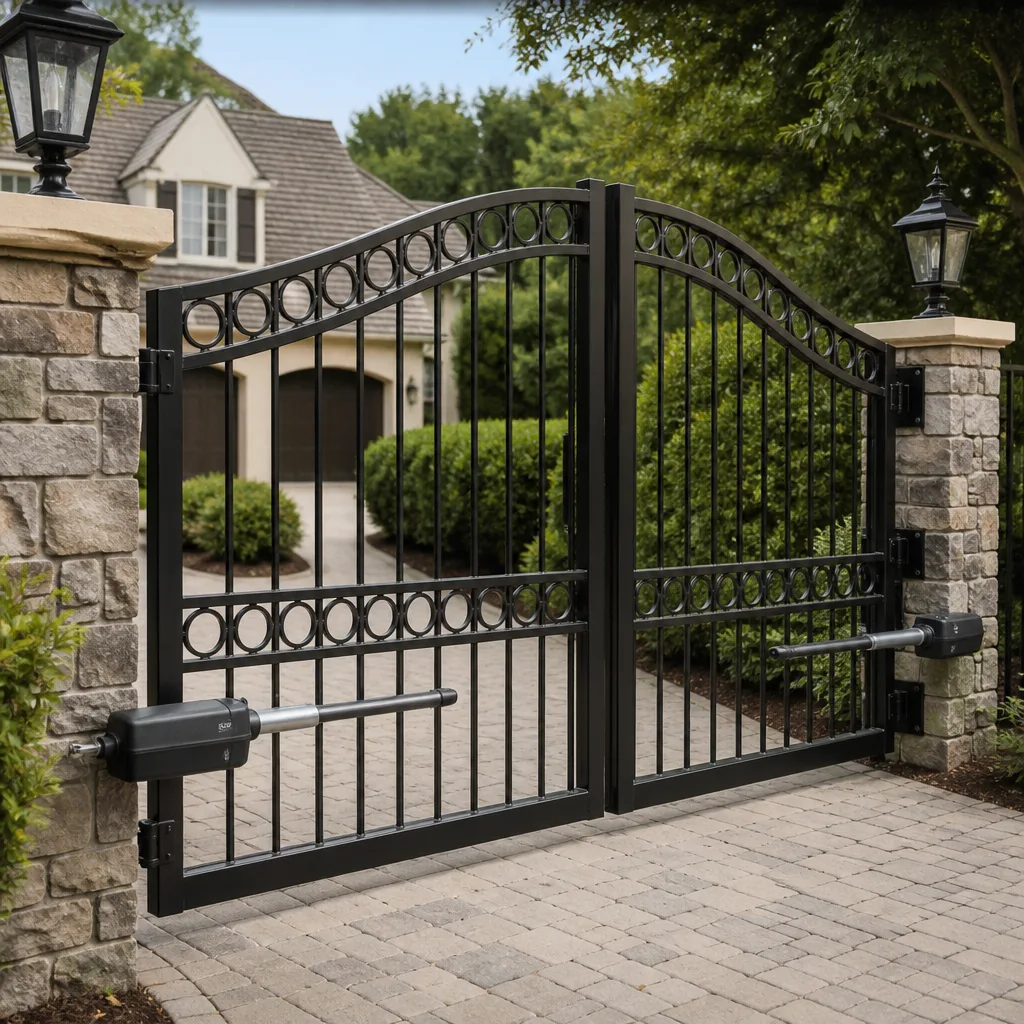 LiftMaster operators
Free on-site gate assessment - hinges, posts, and your LiftMaster or Nice gate operator checked before anything is quoted
The assessment is free and the quote is the invoice.
Get your free estimateGate Repair Maintenance Checklist for Atwater Village Homeowners
The number one reason Atwater Village gate operators fail prematurely isn’t lack of lubrication. It’s lubrication with the wrong product applied to the wrong component, which gums up limit switches and voids warranties on equipment from manufacturers like LiftMaster and FAAC. We’ve pulled failed operators out of gates in Atwater Village where the homeowner meant well but used a heavy axle grease on a nylon rack-and-pinion gear, and the result was a $600 replacement instead of a $40 service call. This guide is the maintenance checklist we use for our own work here, calibrated for the specific conditions this neighborhood throws at gate systems: river-adjacent soil that moves, thermal swings that stress electronic components, and property layouts that put gates through more cycles than suburban averages.
Styles & brands we work with
- Wrought iron
- Wood & steel frame
- Farm & ranch
- Sliding driveway gates
- LiftMaster operators
Quick Answer
A thorough gate maintenance checklist for Atwater Village homeowners should cover monthly visual inspections, quarterly lubrication with the correct product per component type, seasonal soil movement checks around posts, and an annual safety reversal test with pass/fail documentation. Most homeowners can handle about 70% of this themselves in under 30 minutes a month. The remaining 30% involves electrical diagnostics and opener calibration that require a specialist, especially on automatic systems.
Table of Contents
- Lubrication Specs by Gate Type: What Goes Where
- Monthly Maintenance Checklist: 20 Minutes Flat
- Quarterly Deep Inspection: The 60-Minute Version
- Annual Safety Reversal Test: Pass/Fail Criteria
- Atwater Village Soil Movement and Gate Alignment
- Electrical and Operator Checks for Automatic Gates
- What to Document After Each Inspection
- Common Mistakes to Avoid
- When to Call a Professional
- Frequently Asked Questions
- The Bottom Line
Lubrication Specs by Gate Type: What Goes Where
Different gate operators demand different lubrication products, and getting this wrong is the fastest way to ruin a perfectly good opener. Here’s the breakdown based on the systems we service most often in Atwater Village.
Chain-drive operators (common on LiftMaster and Linear residential swing gates) need a light penetrating lubricant applied to the chain itself. The key word is light. A heavy grease traps dirt and grit, which acts as an abrasive paste on the chain links. Apply a thin coat, wipe off the excess, and the chain should look damp, not wet. Never lubricate the sprocket teeth directly; the chain carries the lubricant to them.
Rack-and-pinion operators (standard on FAAC and BFT slide gates) use a completely different approach. The nylon or steel rack gear needs a durable synthetic grease that stays in place. Spray lubricants run off these gears within days, leaving them dry again. A thin film of lithium-complex grease works well here, applied with a small brush to the tooth contact area only.
Screw-drive operators (found on some older LiftMaster swing gate models) take a specific screw-drive lubricant, not grease and not penetrating oil. The wrong product breaks down the screw’s thread engagement over time and creates a chattering sound. If you hear chattering, stop lubricating and get the screw inspected.
Hinges and pivot points on any gate type: use a white lithium grease or a silicone spray. These points need protection from the fine dust that Atwater Village gets, especially during dry stretches when wind carries particulate from the river channel and the 5 freeway corridor. Dust sticks to wet lubricant, so apply sparingly and wipe away any visible residue.
One more note that saves our Atwater Village customers money: if your operator manual specifies a particular lubricant, use exactly that product. Using a non-specified product is grounds for warranty denial on equipment from BFT and others, and we’ve seen manufacturers enforce that strictly.
Monthly Maintenance Checklist: 20 Minutes Flat
This is the routine that catches small problems before they become expensive ones. Set a recurring calendar reminder. Twenty minutes a month beats a $900 operator replacement.
- Visual sweep of the gate frame and pickets (3 minutes). Look for rust spots starting at weld points, loose pickets, or any bend in the frame. Atwater Village’s clay-heavy soil shifts with moisture, and that shift transfers stress to the gate structure. A gate that looks slightly off but still works is already telling you something.
- Check the gate’s movement path (2 minutes). Walk the full arc of a swing gate or the full track length of a slide gate. Remove debris, leaves, river-adjacent plant material, or anything that might catch a wheel or drag on the bottom rail. Look for new scratches on the gate bottom or along the track; those indicate a developing clearance problem.
- Listen to the operator while it cycles (3 minutes). Open and close the gate once. A smooth hum is normal. Grinding, clicking, squealing, or hesitation means something is changing. Note what you hear. A sound that goes away on its own usually comes back worse.
- Check wheels and rollers on slide gates (4 minutes). Inspect guide rollers, support wheels, and the track for wear or wobble. A slide gate that’s started to ride slightly crooked puts uneven pressure on the operator motor. You’re looking for the gate panel to move in a straight, level line with no side-to-side movement.
- Check post caps and concrete collars (3 minutes). Look for cracks developing in the concrete around gate posts, or between the post and any adjacent masonry like the pilasters common in Atwater Village’s older Spanish-style homes. Cracked collars let water in, and water plus clay soil equals post movement.
- Verify the keypad and safety sensors are clean (2 minutes). Wipe down the keypad face. Check that photo eye lenses are clear of dust and cobwebs. In Atwater Village, fine particulate from the riverbed and freeway can build a film on sensor lenses that degrades their response.
- Test the manual release once (3 minutes). Pull the manual release and move the gate by hand through its full travel. It should move freely. If it binds, drags, or feels heavy, that’s your early warning. Re-engage the operator and cycle it once to confirm everything seated correctly.
If any of these checks reveals a problem, don’t force the gate through another cycle. Forcing a gate that’s fighting resistance is how gears strip and motors burn out. That’s the difference between a maintenance catch and a gate repair emergency.
Quarterly Deep Inspection: The 60-Minute Version
The quarterly pass goes beyond the monthly routine into components that fail slowly and quietly. Plan an hour every three months. None of these tasks require special tools beyond a wrench set and a voltage tester.
- Torque check on every bolt you can reach (15 minutes). Gate hardware vibrates loose. Check hinge bolts, post bracket bolts, operator mounting bolts, wheel brackets, and track clamps. Use a torque wrench if you have one, and reference the manufacturer’s torque specs if they’re in your manual. Loose hardware is the most common cause of the gate “slamming” at the end of travel, which overstresses the operator gearbox.
- Inspect limit switches and their cams (8 minutes). Open the operator cover and look at the limit switch assembly. Are the cams still tight? Is there accumulated grease or dirt on the switch contacts? Wipe gently with a dry cloth. This is the component that fails when the wrong lubricant gets applied, so if you see gummy residue here, clean thoroughly and re-evaluate what you’ve been using.
- Check wiring connections at the operator (10 minutes). Look for any signs of arcing, which shows as blackened or melted wire insulation at terminals. Check that wire nuts are tight. Check that the low-voltage control wires from the keypad and safety devices aren’t rubbing against anything sharp. Loose connections cause intermittent failures that are miserable to diagnose later.
- Battery and backup system test (5 minutes, if applicable). If your operator has a battery backup, disconnect AC power and cycle the gate on battery once. A healthy backup system should cycle the gate at least twice from a full charge. Atwater Village gets occasional power flickers during Santa Ana wind events, and a dead backup battery means a gate that won’t open when the grid goes down.
- Clean the operator housing inside and out (10 minutes). Dust inside the operator acts as insulation, causing the motor and circuit board to run hot. Heat is the enemy of electronic components. A soft brush and a gentle vacuum work. Compressed air is better. Don’t use a household cleaner on circuit boards, ever.
- Check weather seals and weep holes (7 minutes). Look at the gasket around the operator cover. Make sure weep holes are clear so condensation can drain. Atwater Village sees enough morning overcast from the LA basin to put moisture in an operator housing, especially in spring. Trapped moisture plus heat equals corrosion on terminals and PCB traces.
- Re-test gate alignment by eye and by ear (5 minutes). Run the gate through ten full open-close cycles. Listen for changes in pitch from the motor during the cycle. Watch for any hesitation or speed change at specific points in the travel. These indicate a developing mechanical resistance or a failing capacitor.
Annual Safety Reversal Test: Pass/Fail Criteria
Automatic gate operators in Los Angeles County are required to have functioning safety reversal systems. This isn’t a nice-to-have. A gate that fails its reversal test is a liability, and it’s also a code violation. Most cities in LA County have adopted the UL 325 standard for automatic gate operators, which mandates two independent safety mechanisms. Check with your local building department for the specific requirement that applies to your property, but the test itself is straightforward.
The obstruction reversal test (inherent entrapment protection):
- Start with the gate in the fully open position.
- Place a rigid object in the path of the gate. A 5-gallon bucket filled with sand works well. It should be tall enough to make solid contact with the gate edge.
- Close the gate on the object.
- The gate must reverse direction within 2 seconds of encountering the object, and it must reverse with enough force to come off the object fully.
- Pass: The gate reverses promptly and returns toward the open position without hesitation.
- Fail: The gate pushes through the object, stalls against it for more than 2 seconds, or reverses slowly and weakly. A gate that stalls against an obstruction is a crush hazard and needs immediate professional attention.
The photo eye / non-contact sensor test (external entrapment protection):
- With the gate mid-cycle and closing, break the beam of the photo eye with your hand or a rolled-up newspaper.
- The gate must stop and reverse immediately upon the beam being broken.
- Pass: The gate stops within half a second and reverses.
- Fail: The gate continues closing with the beam broken. This may mean misalignment, a dirty lens, or a failed sensor. Clean and realign, then retest. If it fails again, the sensor or its wiring has failed.
If either test fails, the gate should be considered unsafe to operate in automatic mode. Switch the operator to manual while you arrange service. The safety systems on automatic gates protect kids, pets, delivery drivers, and anyone else who might legally pass through your gate opening. This is one area where we always recommend professional service rather than DIY adjustment, because a misdiagnosed safety system is worse than no safety system at all. It gives you a false sense of protection.
Atwater Village Soil Movement and Gate Alignment
Atwater Village sits on floodplain-adjacent land, and the soil here has a high clay content in many pockets. Clay soil expands when wet and contracts when dry. Cycles of rain followed by long dry stretches move gate posts. Not dramatically, but millimeters matter when you’re dealing with a gate that has to close against a lock catch or trip a limit switch at the exact right moment.
This is the maintenance item most national gate checklists miss entirely, because it’s specific to neighborhoods like this one. Here’s what to look for:
- Seasonal post shift. After the first real rain of winter, saturated soil can cause posts to lean outward by a degree or two. When the soil dries in summer, they often don’t come all the way back. Over years, this creep adds up.
- Lock catch misalignment. The telltale sign is a gate that used to latch cleanly but now needs a little push, or a lock solenoid that clicks but doesn’t fully seat the bolt. That’s usually post movement, not a failed lock.
- Track settlement on slide gates. Clay soil under a slide gate track can compact unevenly. A track that’s low by a quarter-inch at one end causes the gate to bind at the same spot every time. Look for wear marks on the track that indicate a low point.
- Gap changes between the gate and the post at the hinge point. A widening gap at the bottom or top of the hinge line means the post is leaning or the hinges are wearing. Both happen slowly enough that you won’t notice day to day, but an annual measurement will catch it. Mark a reference point and measure the gap once a year.
If you see any of these signs, the fix is usually post re-seating or hinge adjustment, not replacing the operator. But catching it early is the difference between a $250 adjustment and a full post reset. In Atwater Village, a post reset often involves deeper footing to get below the reactive clay layer, which is a more involved job. If you’re uncertain about the severity, schedule an on-site estimate with an electric gate repair specialist who knows the local soil conditions.
Electrical and Operator Checks for Automatic Gates
Automatic gate operators run on low-voltage control circuits and high-voltage motor circuits in the same housing. Both deserve respect, and neither should be worked on without the power disconnected. If you’re not comfortable working around 120-volt wiring or 12-volt control boards, skip this section and call a professional. The injury risk around a gate operator is real: motors can start unexpectedly, capacitors can hold a charge, and a gate panel that moves under its own power can crush fingers or worse.
What a homeowner can safely check:
- Operator housing ventilation. In Atwater Village’s summer heat, an operator that sits in full afternoon sun on a west-facing driveway can get very hot inside. The thermal protection circuit will shut the operator down at high temperatures. Make sure the housing has clearance around its vents and that any shade structure hasn’t been removed. If your gate quits on a 95-degree afternoon but works fine the next morning, heat is the likely culprit.
- Control board LEDs. Most modern operators from LiftMaster, FAAC, BFT, and Linear have diagnostic LEDs on the control board. A flashing pattern usually maps to a diagnostic code in the manual. Document the pattern before calling for service; it saves the technician time.
- Remote control range. If remotes work intermittently, check the antenna wire on the operator. It should be extended and not coiled, and not pinched against the metal housing. A bent or trapped antenna cuts range dramatically. Also check for new sources of RF interference: LED bulbs installed near the gate, new electrical subpanels, or a changed neighbor’s system can all reduce range.
- Photo eye alignment. The sender and receiver lenses need to face each other in a straight line. If a post has shifted, the lenses can point past each other even though they both look clean. A quick trick: most photo eyes have a small LED that turns solid when the beam is aligned. If it’s blinking or off and the lenses are clean, the alignment is off.
What should always be left to a professional:
- Any work inside the operator housing beyond a visual inspection.
- Capacitor replacement (capacitors store charge and can shock you severely even with power disconnected).
- Limit switch replacement or adjustment.
- Any rewiring of the motor, control board, or power input.
- Safety edge or photo eye wiring repairs.
The dividing line is simple: if it involves a screwdriver on a wire terminal, that’s a technician’s job. If it’s visual, it’s probably yours. Gate systems are the most dangerous thing most homeowners own that they don’t think about, and the consequences of a mistake aren’t a tripped breaker; they’re a gate that can close on someone.
What to Document After Each Inspection
Documentation is the single most useful maintenance habit a homeowner can develop, and almost nobody does it. In our experience, a homeowner with records gets faster diagnoses and lower repair bills, because the technician isn’t starting from zero. Here’s what to track:
- Date and time of inspection. Simple, but the foundation. A pattern of failures that occur in summer dry spells or winter rains only emerges from dated records.
- Any sound changes. Describe the sound in plain words: “high-pitched whine when opening from fully closed” means something to a technician. “A little weird” is useless.
- Any visual changes. Note new rust spots, new scratches on the track, changed gaps, new cracks in concrete.
- Voltage readings if you have a multimeter. Note the incoming voltage at the operator. Fluctuations in Atwater Village feed from LADWP are rare but do happen, and a low-voltage event can damage a control board. Documenting it helps with an insurance claim if that’s relevant.
- Any work performed. If you lubricated, documented what product you used, on what component, and when. This prevents the “did I or didn’t I?” question three months later, and it’s essential if a warranty claim ever comes up.
- Battery backup test results. Note whether the battery cycled the gate once, twice, or not at all. A battery that is losing capacity over time will show a declining number of cycles.
The format doesn’t matter. A notes app, a spiral notebook, or a spreadsheet all work. What matters is consistency. Ten minutes of notes after each inspection saves real money later.
If you want a professional baseline inspection to start your records from a known good state, Gate Repair Atwater Village provides free estimates for maintenance assessments in Atwater Village.
Common Mistakes to Avoid
- Using grease on a chain. Heavy grease on a chain-drive operator traps grit and accelerates chain and sprocket wear. Penny-wise, pound-foolish.
- Ignoring a changing sound. A gate that used to hum and now whines or clicks is telling you something. The sound won’t fix itself. What’s a minor misalignment today is a stripped gear tomorrow.
- Waiting until the gate fails to call anyone. Maintenance catches issues when the repair is affordable. Waiting until failure means an emergency gate repair on the gate’s schedule, not yours.
- Adjusting the operator without adjusting the gate first. Most operator “problems” are actually gate problems: misalignment, dragging, or binding. Adjusting the operator to compensate for a gate problem just transfers the stress to the motor.
- Using WD-40 on everything. WD-40 is a solvent and moisture displacer, not a lasting lubricant. It washes away whatever grease was there and leaves components dry. Use the correct product for each component.
- Not testing the safety reversal because it’s “a pain.” The safety test is the most important ten minutes of the annual maintenance routine. A gate that closes on someone is a disaster for them and a liability for you.
- Ignoring post movement until the gate won’t latch. By the time the latch fails, the post has moved significantly. Catch it early with annual gap measurements and save the cost of a post reset.
When to Call a Professional
Some gate problems are maintenance issues you can handle. Others are service calls waiting to happen. Call a professional if your gate fails either safety reversal test, if you hear grinding or clicking from inside the operator gearbox, if the gate has come off its track or out of its hinges, if the operator trips its breaker repeatedly, or if you see arcing or melted wire insulation at any connection point. Any time the problem is electrical rather than mechanical, and any time the gate has moved unexpectedly on its own, stop using the system and call someone who specializes in gate systems specifically. Gate Repair Atwater Village offers free estimates in Atwater Village. Call (877) 752-2593. We answer 24/7. Fast dispatch from 7am to 7pm, Sunday through Friday.
Frequently Asked Questions
A monthly 20-minute visual and sound check, a quarterly 60-minute deep inspection, and an annual safety reversal test is the right cadence for most Atwater Village homeowners. Gates near the river or on heavily treed streets may need more frequent cleanings due to leaf litter and fine dust. Call (877) 752-2593 for a free estimate if you want a professional baseline assessment.
The correct lubricant depends entirely on the operator type: a light penetrating oil for chain drives, a lithium-complex grease for rack-and-pinion gears, and a screw-drive specific lubricant for screw-drive operators. Using the wrong product is one of the most common causes of premature operator failure we see in Atwater Village. Check your owner’s manual first, and if you’re uncertain, ask a professional before applying anything.
That pattern is usually thermal protection in the operator shutting the unit down when the housing gets too hot, which happens on unshaded west-facing gates in Atwater Village during summer afternoons. The fix may be as simple as restoring shade or cleaning blocked ventilation, or it may indicate a failing component that only shows symptoms when hot. Document when it happens and call (877) 752-2593 for a diagnosis.
Look for changes in the gap between the gate and post at the hinge line, a lock catch that no longer aligns cleanly, or a slide gate track that’s developed a low point. In Atwater Village, clay-rich soil expands and contracts with rain and dry spells, causing gradual post movement. Measure and record the hinge gap once a year so you can track changes objectively.
Electric gate operators in Los Angeles County are subject to building code requirements including UL 325 safety standards, and most cities require permits for new installations that involve electrical work. A maintenance-only visit typically doesn’t require a permit, but any new electric gate repair involving rewiring or operator replacement may. Ask your city’s building department for the requirements specific to your property.
We’re based in Atwater Village and serve the surrounding neighborhoods in Los Angeles. If your gate is in Atwater Village or nearby, we can usually have a technician out quickly. Call (877) 752-2593 for a free estimate. We answer 24/7. Fast dispatch from 7am to 7pm, Sunday through Friday.
The Bottom Line
A gate is a mechanical system that lives outside and moves hundreds of pounds every day, and in Atwater Village it also contends with shifting clay soil, dry dust, and seasonal temperature swings. The maintenance checklist that works here isn’t generic. It’s built around the specific failure modes this neighborhood produces: post movement from reactive soil, dust contamination, and thermal stress on electronics in summer. Do the monthly 20-minute check without fail. Use the right lubricant on the right component. Test the safety reversal annually and document the result. And when something falls outside your comfort zone, call a professional before forcing the gate through another cycle. The cost of maintenance is predictable. The cost of neglect never is.
Written by the team at Gate Repair Atwater Village, serving Atwater Village since 2012.
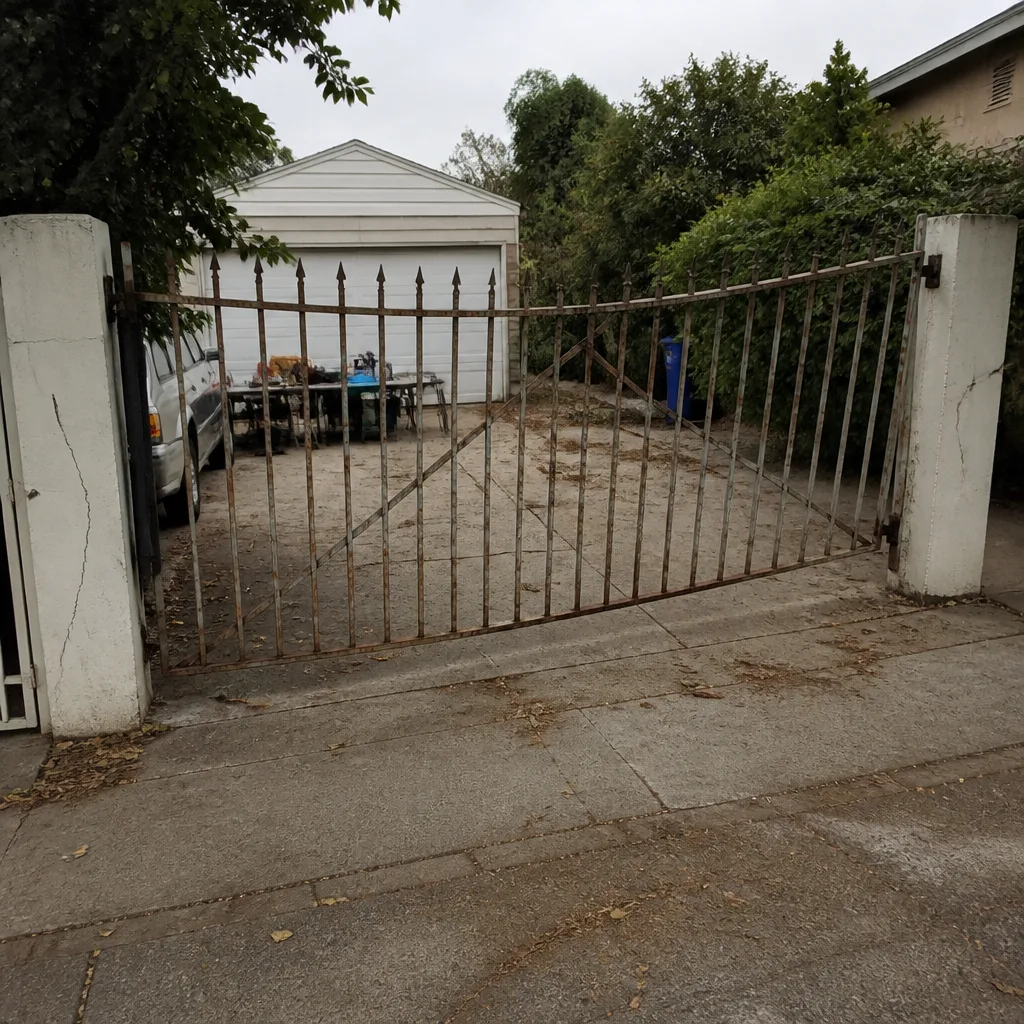
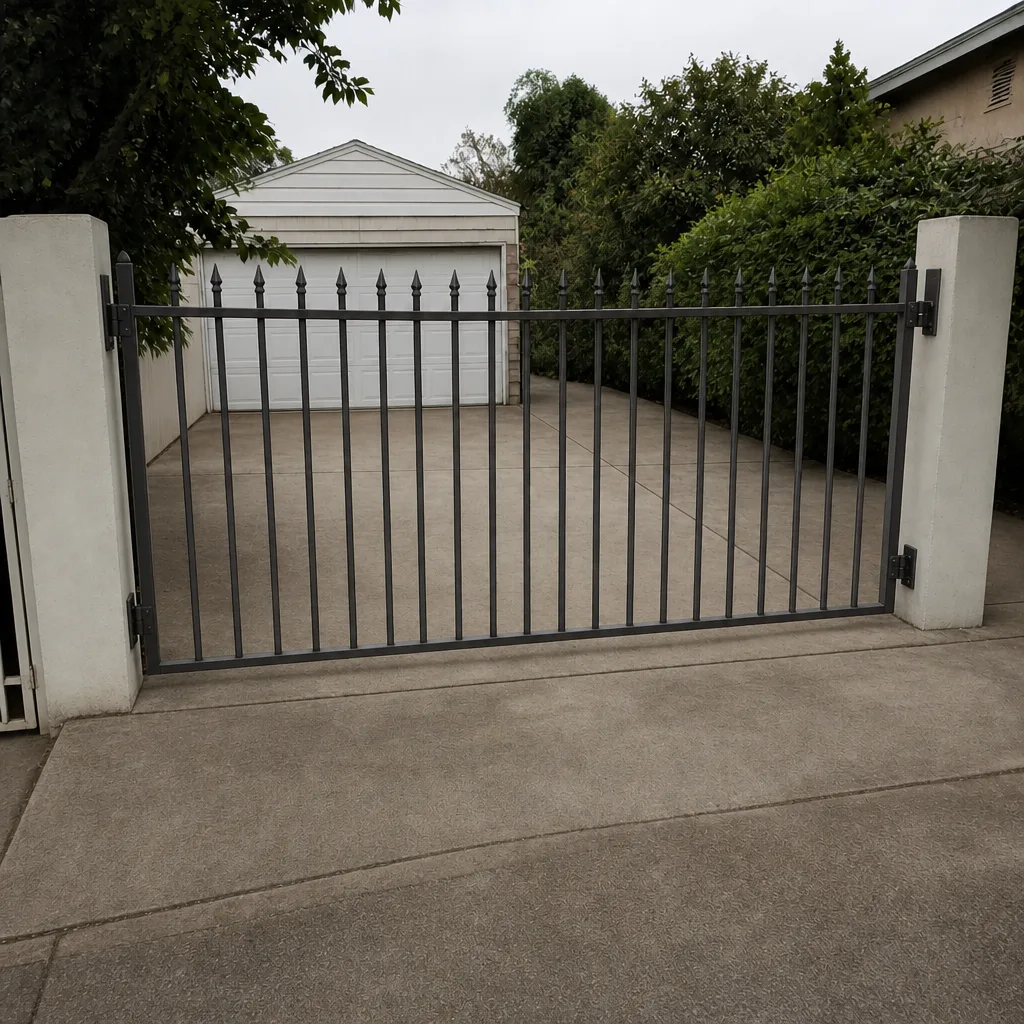
See the difference
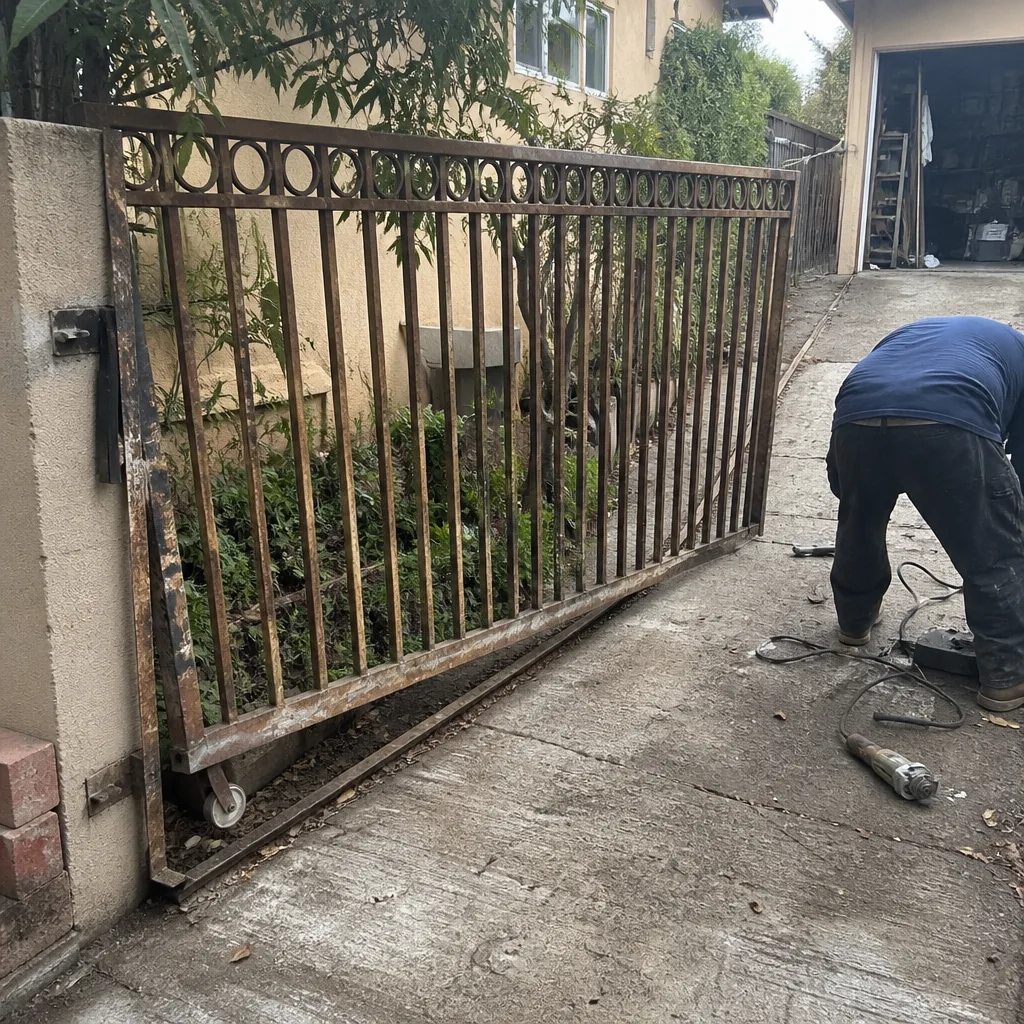 Before
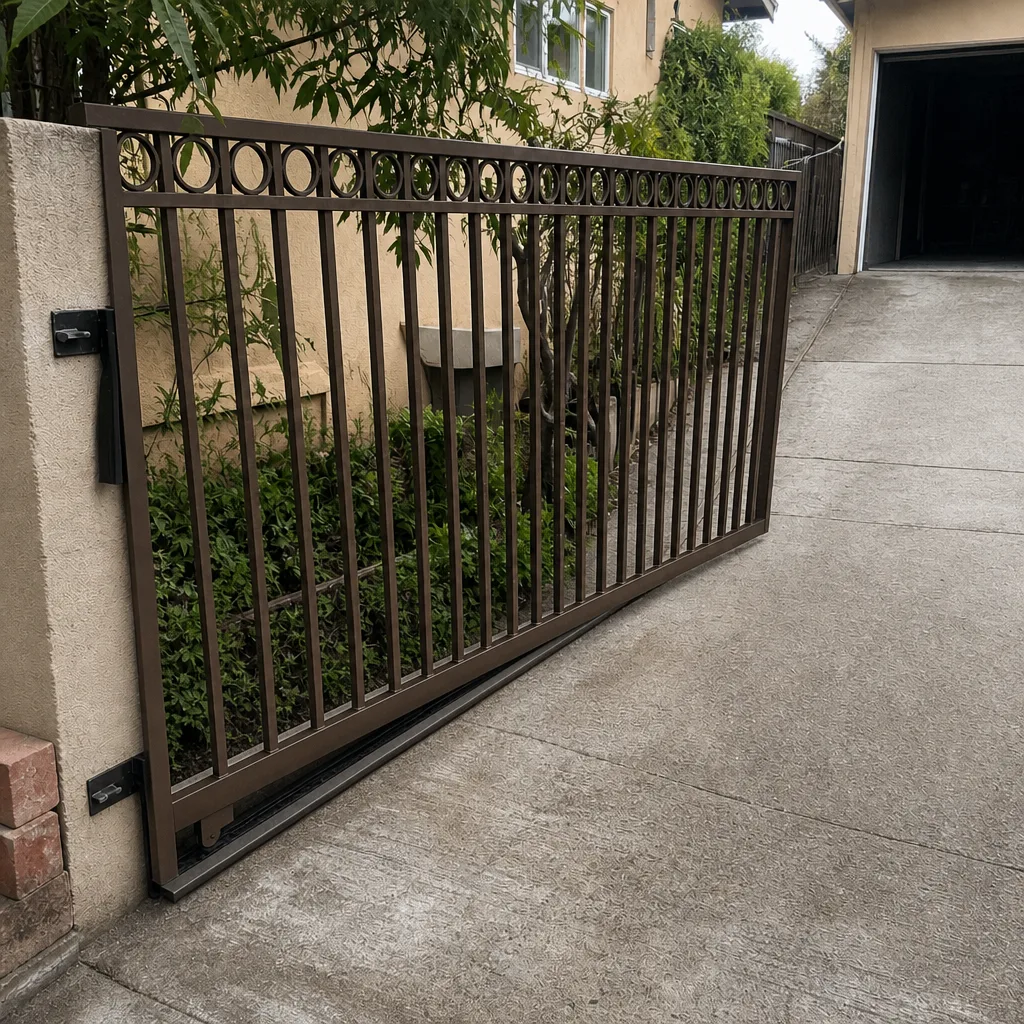 After
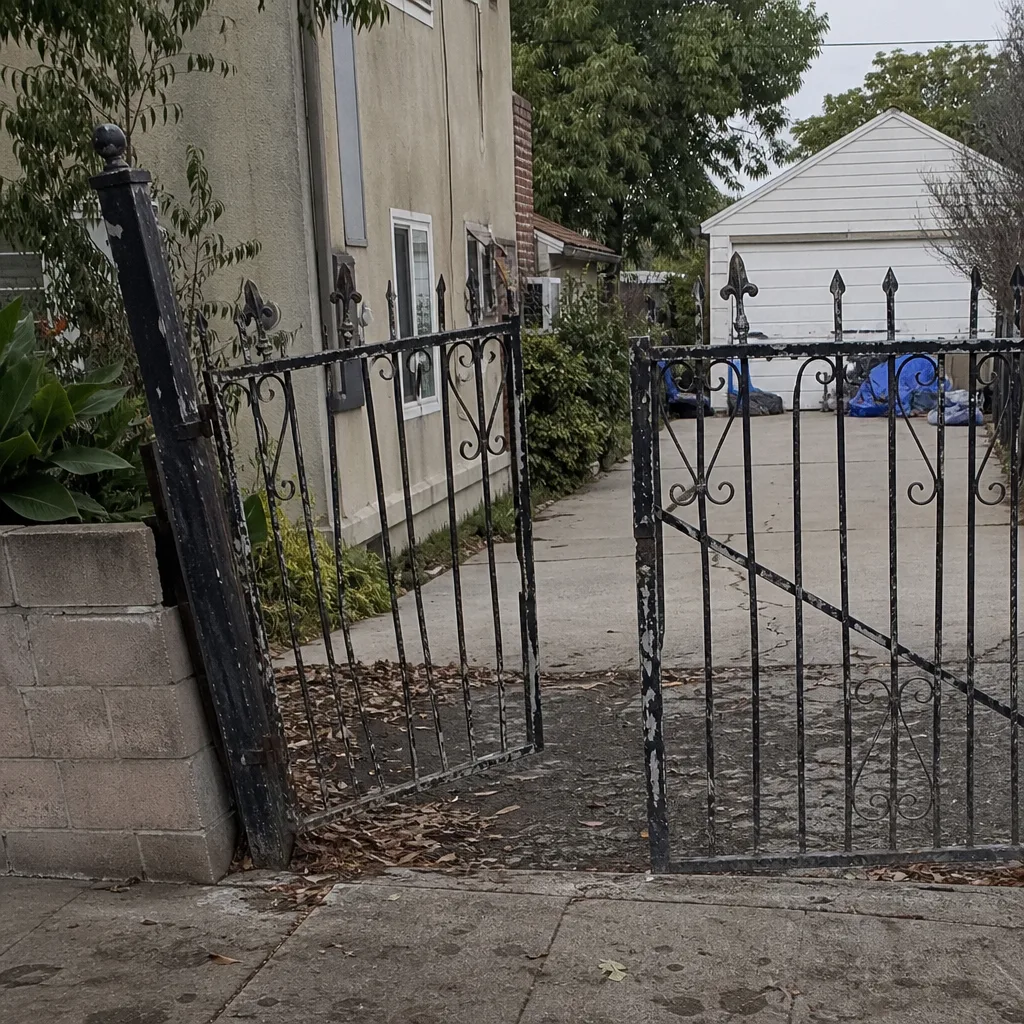 Before
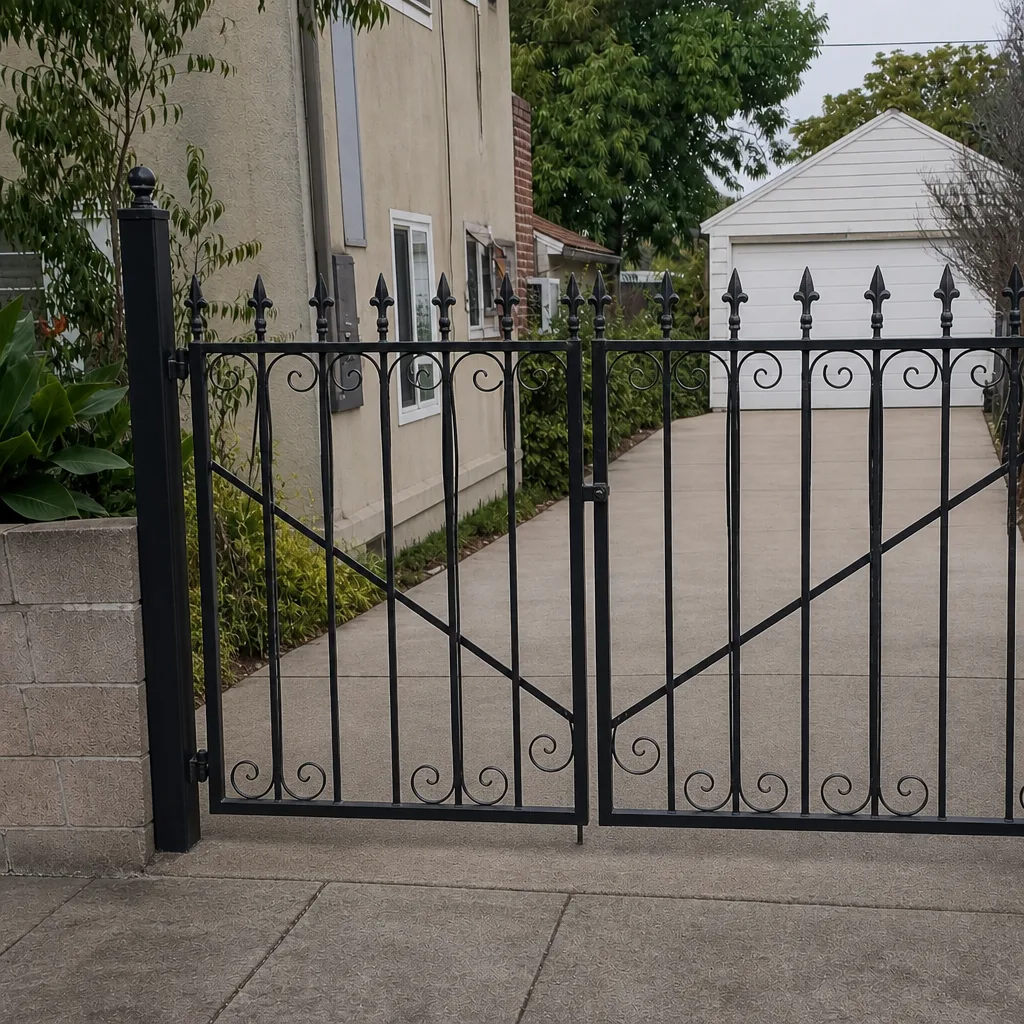 After
 Before
 After